We teach, we learn, we inspire!
The UAF School of Education is committed to culturally responsive, place-based teaching,
counseling, research, and service throughout Alaska’s communities. Through accredited
programs delivered on campus and statewide, students gain real-world K-12 experience
and a strong foundation in cultural and environmental context. Our graduates are prepared
to lead successful, welcoming classrooms and make a lasting impact in schools across
the state.
Departments
Elementary education
Prepare to teach grades K-8 with Alaska-focused training and strong support for classroom
teachers and community educators. |
Secondary education
Train to teach grades 6-12 through flexible programs that combine practical experience
with cultural relevance. |
Special education
Prepare for a career to support K-12 students with special needs through rigorous
coursework and clinical practices. |
Counseling
Prepare for future professional licensure in school or clinical counseling with flexible,
graduate-level programs. |
Art K-12
Become certified to teach K–12 art with postbaccalaureate or master’s degree pathways. |
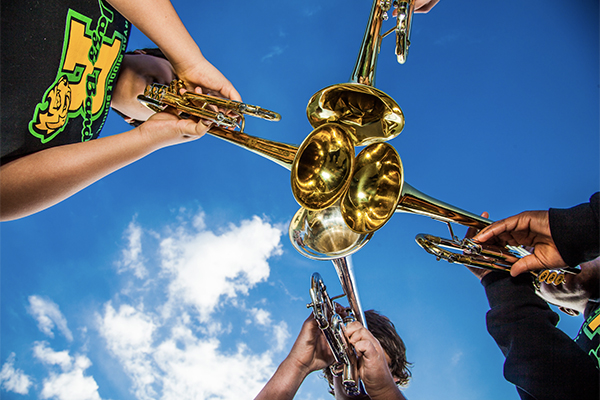
Music education
Earn a bachelor’s in music education through the UAF College of Liberal Arts, with
hands-on teaching experience in Alaska schools. |
Why choose UAF School of Education?
Success stories
Staff were always available you can tell they genuinely want to see you succeed, and
I felt like they had my back the whole way through.
—Triston Nyquest, secondary education program
Scholarships
The UAF School of Education offers several scholarship and financial aid opportunities
to support future educators. These include the need-based Alaska Education Grant,
the Teacher Education Loan for those committed to teaching in rural Alaska, and the
UA Teacher Internship Scholarship, which covers full tuition and provides a $10,000
stipend during a student’s final, full-time internship year.